
Buy Goods, Take Contracts and Publish Demands
The industrial market supports three different actions. Buying supply makes goods yours at a location. Taking a delivery contract commits you to bring goods to a customer. Publishing a demand makes you the customer and commits your money to obtaining goods. Decide which role you intend before pressing an action button.
Step 1. Inspect supply
In Trading Hall, select a merchandise and use Supply. Read airport, seller, available quantity, unit price and weight. Check the distance reference and any radius or price filter. An empty filtered board does not mean there is no supply in the world.
Chapter 19 demonstrates a completed system purchase: 30 rations at LFPT for 1,800 Cr. Its result is stock at LFPT. A purchase at another airport would require a separate transport plan.
Step 2. Compare a customer's demand with your capacity
Switch to Demand. Inspect the buyer, airport, remaining quantity and unit price. Remaining quantity accounts for existing deliveries and commitments; the original requested quantity is not necessarily still available to you.
Before Take Contract, identify how you will obtain and deliver the quantity. Include purchase/production cost, total weight, transport, available aircraft, fuel, crew and the deadline. A high unit price alone does not make a contract suitable for the Cessna.
Step 3. Read the commitment before signing
Enter only the quantity you can deliver and review the confirmation. Contracts run for seven days, with a penalty of 10% of the undelivered value if they expire. A signed contract cannot simply be cancelled. Do not sign one just to explore its next screen.
Screenshot placeholder TC03 — first suitable contract. Select a real demand supported by an executable supply and transport plan. Capture the demand, quantity and confirmation, then the signed row in My Contracts. No contract was signed during this inspection.
Step 4. Track delivery in My Contracts
Open My Contracts. Read reference, product, airport, delivered quantity, status and expiry. Use its goods and Trading Hall shortcuts to investigate missing stock.
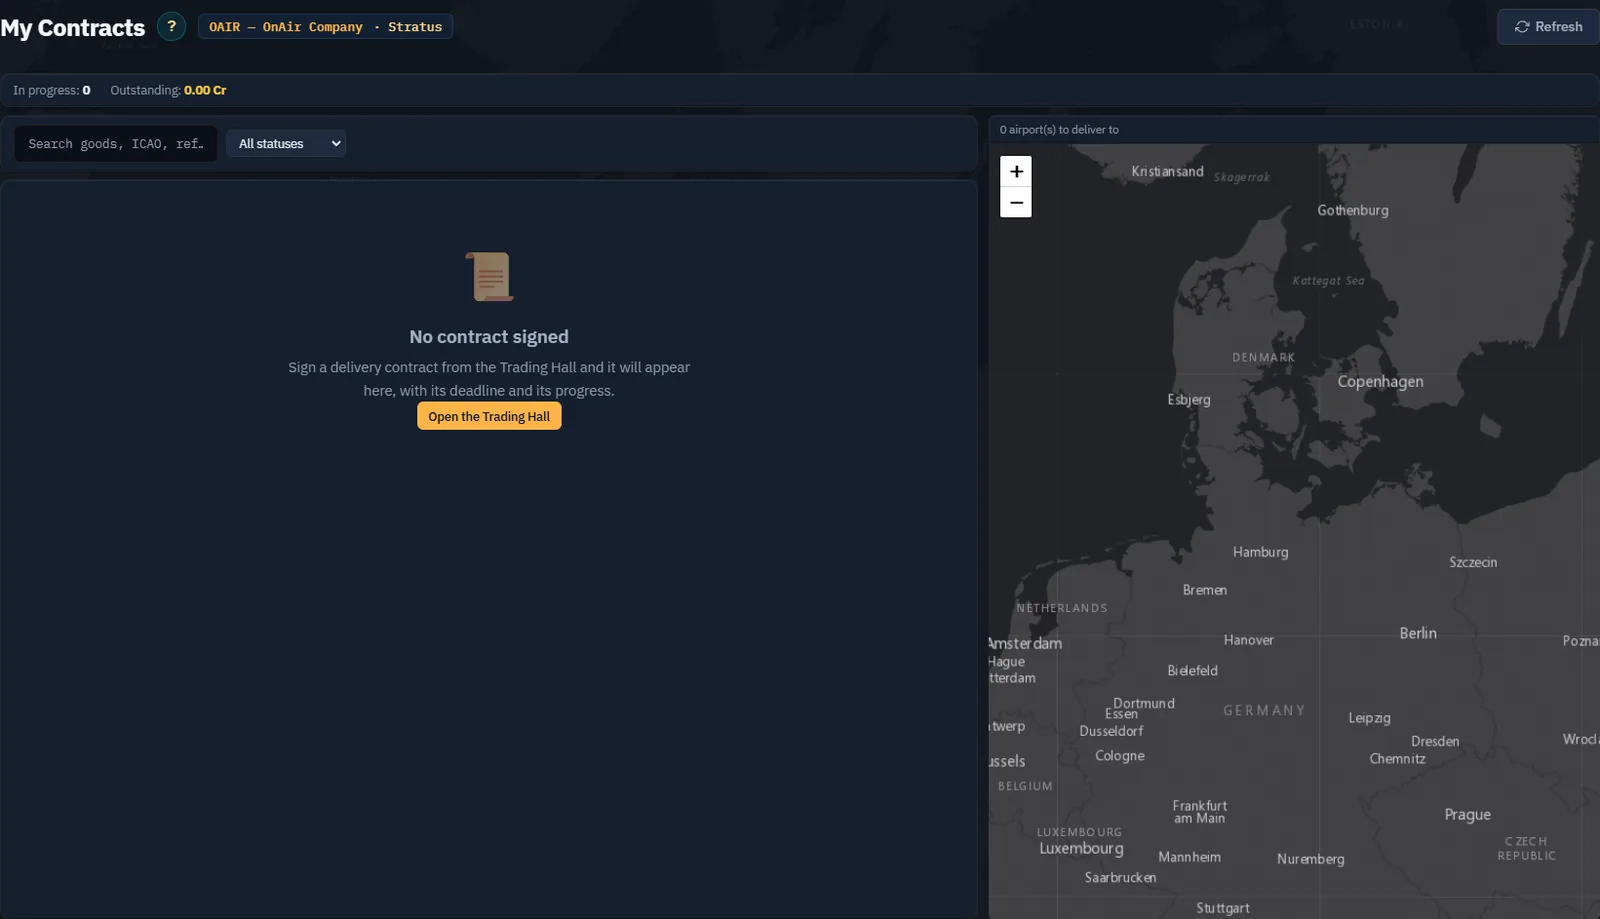
Matching goods on the ground at the contract airport are handed over by the server automatically. Verify progress and payment rather than looking for a manual delivery button. Goods elsewhere or still aboard/in transit may need to reach the required usable state first.
Screenshot placeholder TC04 — actual contract settlement. After delivering the matching goods, capture the contract progress and payment. Match the reference and quantity across the images; partial delivery is not full completion.
Step 5. Publish a demand when you are buying
Use My Demands when you want other operators to deliver to you. Select merchandise, quantity, price and delivery airport. Read the total charge and the stated price ceiling before submitting.
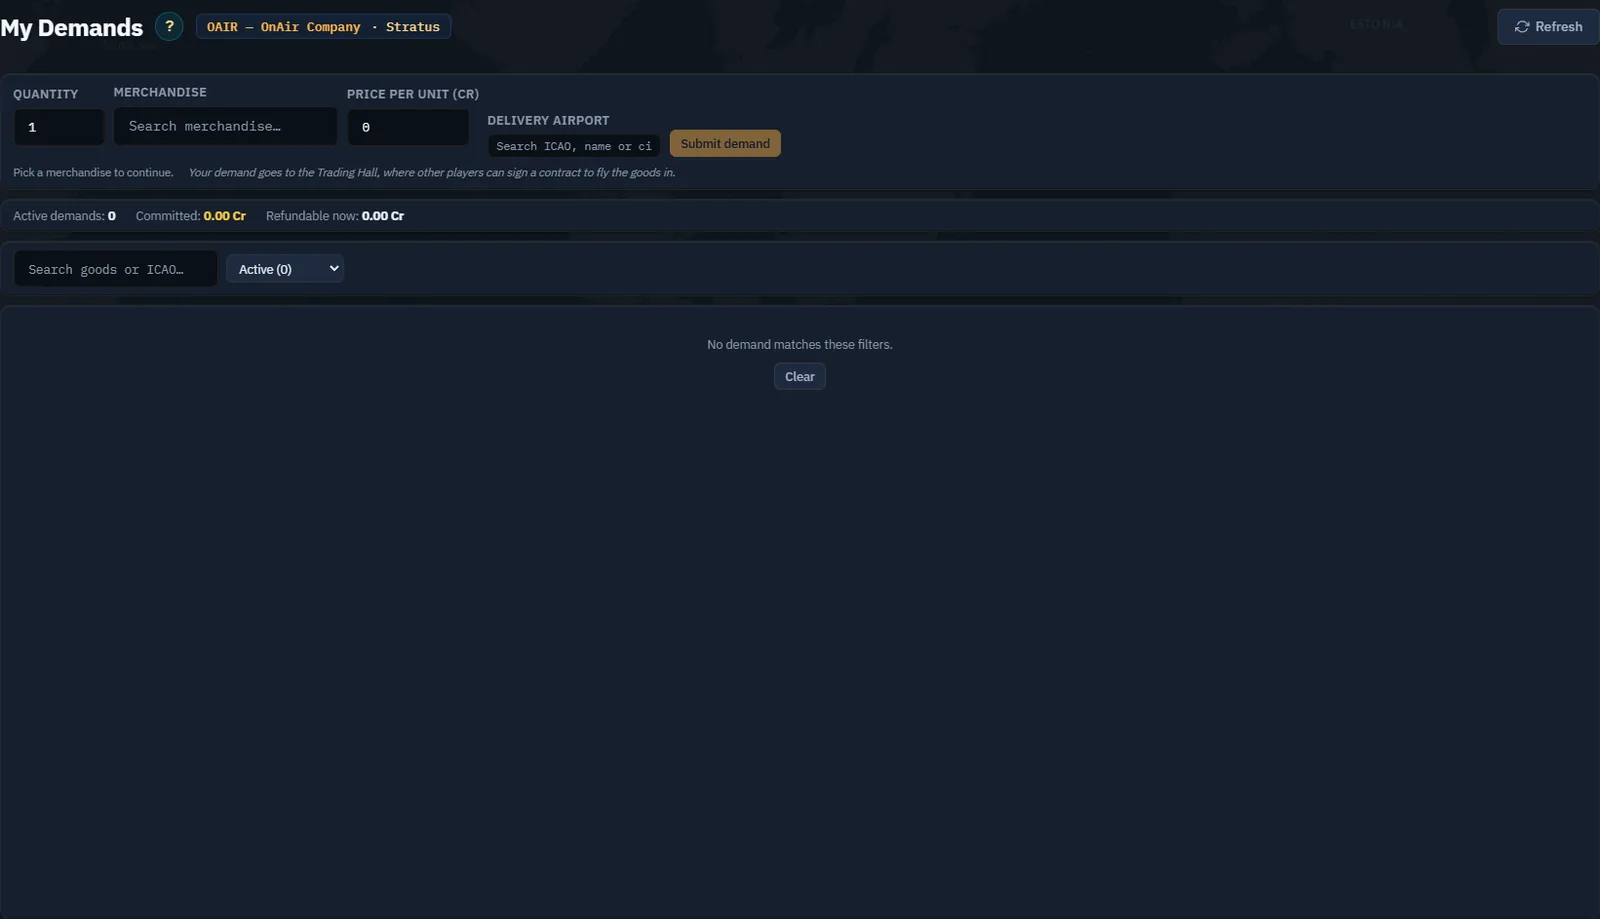
The whole demand is paid up front. Its Committed amount represents money not yet converted into delivered goods. Publishing does not guarantee a carrier will accept it, so do not depend on it for an immediate production start.
Step 6. Understand cancellation
The quantity display distinguishes delivered goods, units under contract and units not yet contracted. Cancelling refunds only the uncontracted portion. Existing carrier contracts survive cancellation; their quantities are not refundable simply because you changed your mind.
Screenshot placeholder TC06 — funded supply demand. When a real factory requirement justifies one, capture the completed form, upfront charge and active demand. Later show delivered versus contracted quantities. Do not publish a demand against which you expect to sign your own contract; the server refuses that.
Step 7. Reconcile goods and money
For purchases, verify My Goods. For delivery obligations, verify My Contracts and Cash Flow. For incoming orders, verify My Demands and the actual goods received. Keep these records separate so stock, receivables and prepaid supply are not counted as the same asset twice in your operating plan.